|
|
| Falke Re-Master |
Re-mastering the Falke has always been at the back of my mind.
Based on the volume of interest in a re-issue, I am going to start remastering the pattern.
The goals of the remaster are:
1) Improve accuracy by replacing scratchbuilt components with the original donor part.
2) Reduce the weight of the kit, engineering it in a way which could make it an attractive injection mold prototype.
|
| Hull / Body |
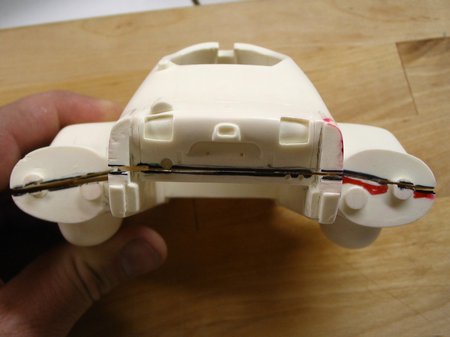
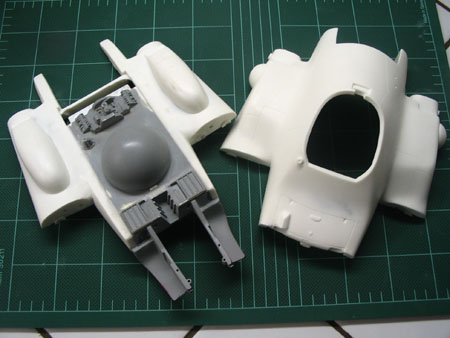
The goal with the Falke hull is to make a big cut along the horizontal axis, creating upper and lower halves.
The new lower half will be combined with the existing underside piece which contains the cockit insert,
outer surface detail and front forks. I will be working on a resin copy of the hull for workabilty reasons and using primer to account for any casting shrinkage.
Due to the shape of the hull, there is no simple approach if I am to avoid cutting across the surface details (panel lines, rivets etc).
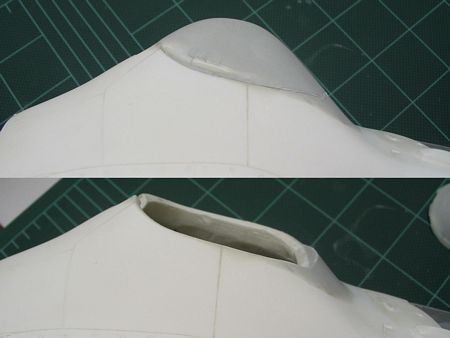
Using a scrap hull part, I have experimented on several different cuts and angles.
 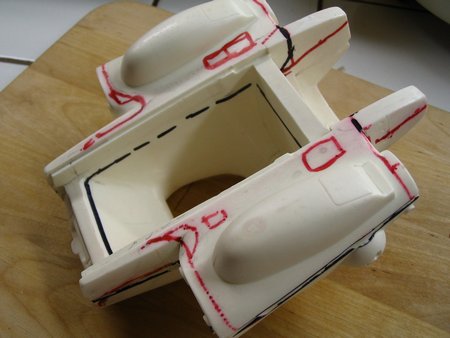
My approach will be to angle in at the sides then level out in the center (above).
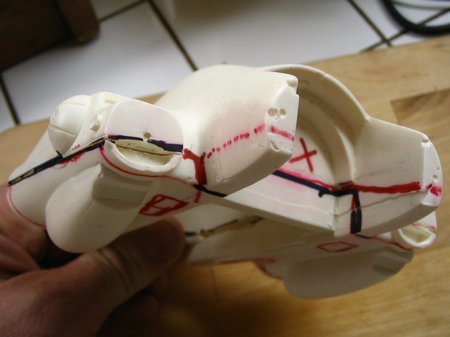
The situation is complicated further by the shallow depth of hobby razor saws and restricted freedom inside the cockpit area.
A rotary tool will be used for the inner cuts where I'm not too concerned about the amount of wasted kerf.
|
| Hack, Slash, Chop |
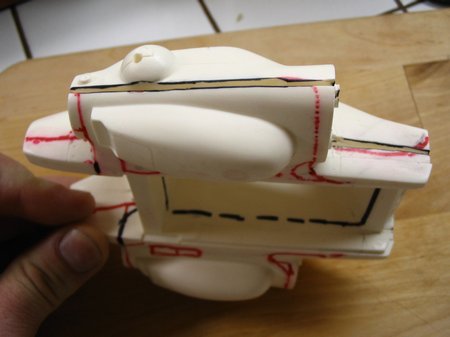
With sticky tape as a guide, I penciled in the cut and set to work with large tooth razor saw.
Corners were cut first so they could guide the saw on the long straight cuts.
The saw wasn't deep enough to penetrate the center, so I used a rotary dremel fitted with a grinding disc to cut inside the cockipt area.
However this also wasn't deep enough to meet up with kerf from the razor saw. So, it was necessary to finish the cut by stabbing/scraping with a blade.
As described above, the angles of the cut provided their own problems, fortunately the blade flexed around these.
 
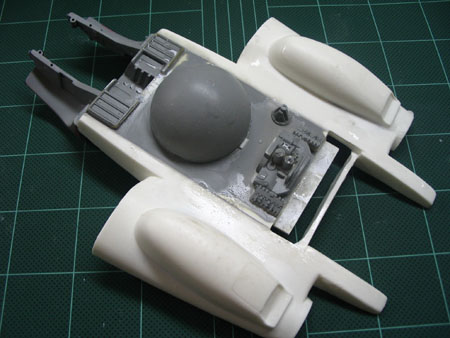
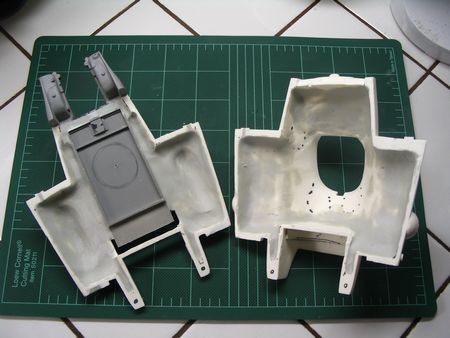
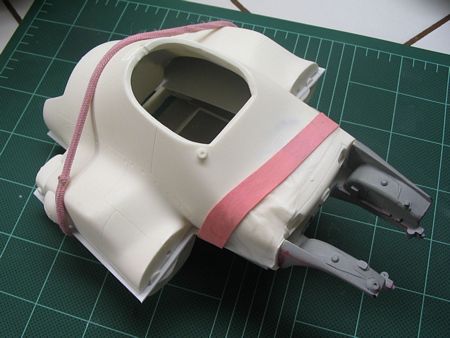
After bracing the front area with a piece of styrene flat, the halves were hollowed out with a dremel tear-drop shaped cutting bit.
The underside was integrated (grey primered part) into the hull, then both halves were lined with putty for that smooth finish.
|
| Smooooooth fit |
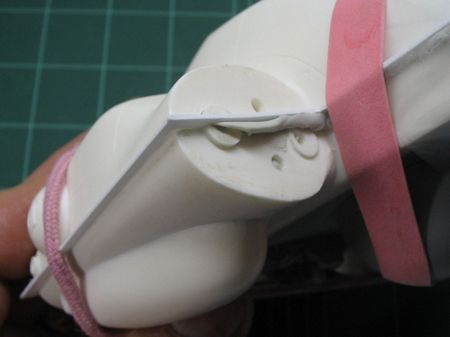
The width of the kerf (razor saw) was a perfect match for .02" styrene, but the cut was wider in some places.
To achieve a super tight fit between two parts, putty, styrene sheet and guide rods are used. The approach is pretty straight forward.
First you need to add guide pins and guide holes. This is done by choosing which half has the cleanest cut and which half doesnt.
The clean half will get the guide holes and later be lined with styrene. The rough side receives guide pins.
Don't use styrene for guide pins as I did here. Styrene gets knocked about or cut off during handling. Use brass/metal.
It is also important to note - the guide pins are longer than the depth of the guide hole. A gap is created between the two parts.
The width of the gap matches the kerf.
Ths point is CRUCIAL if you want to retain the original dimensions of the part prior to the cut.
When the parts are sandwiched together, the longer guide pins prevent the parts squashing too close and ensure the putty thickness is correct.
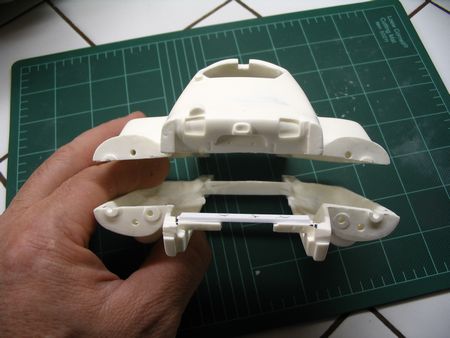
Below you can see the gap between the two halves and an idea of a guide pin!
 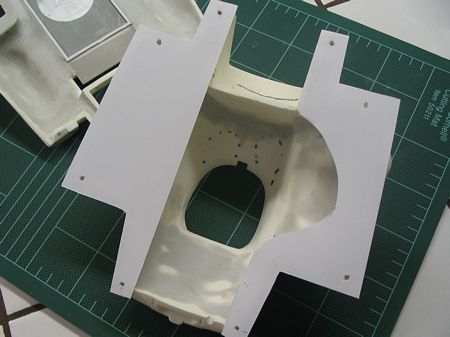
Here you can see how I've added guide pins and lined one half with styrene. Re-Drill the guide holes in the styrene and ensure a nice dry fit.
Line the other side with putty and squeeeeeze.
|
| Cockpit |
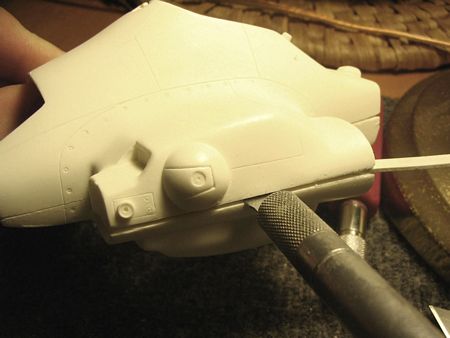
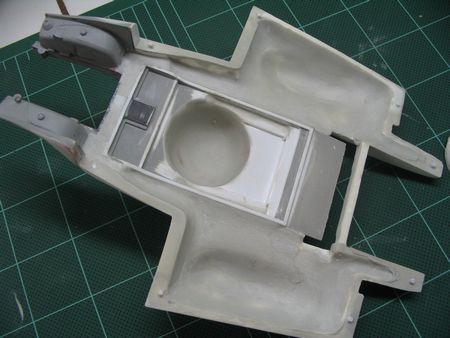
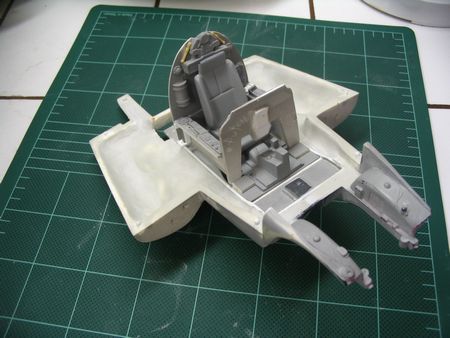
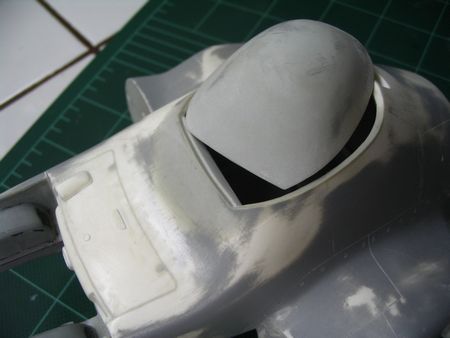
With the hull halves hollow and smooth, it was time to stream line the cockpit area.
The center PPG was dremelled out and the cockpit socket tidied up with putty.
Outer edge of the hull is nice and crisp from the cut-n-shut putty sandwich described above).
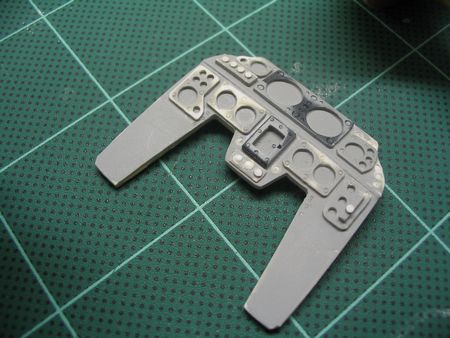
Console also recieved some rivets.
|
| Front section |
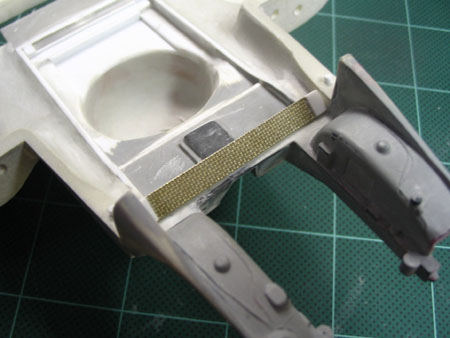
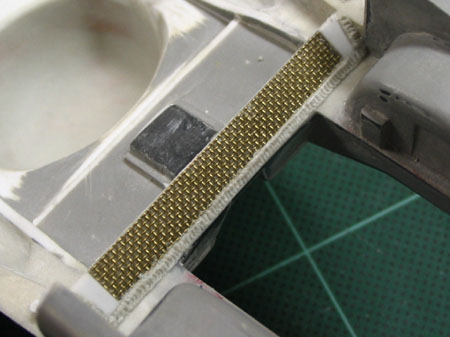
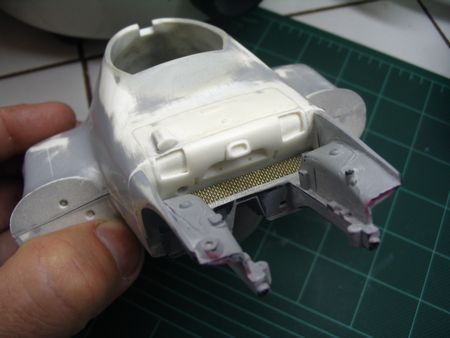
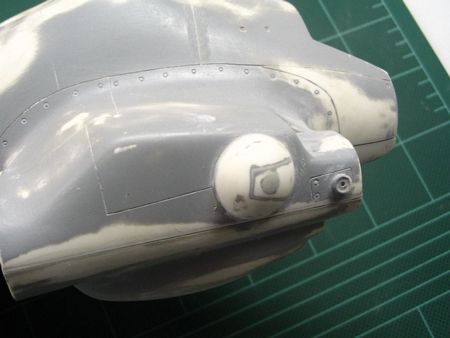
The reversed S800 toyota car body sits on it's chasis and forms the front section of the Falke.
An unsightly gap is created so I took liberty here and created a vent of brash mesh, framed with a bead weld...not so beady ;-)
|
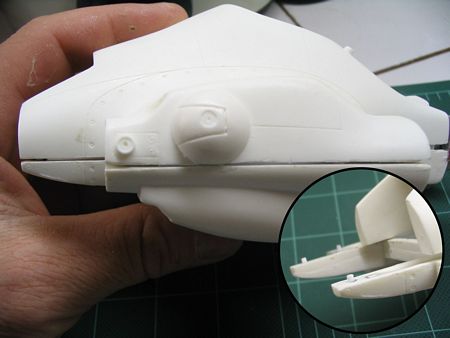
| Hatch |
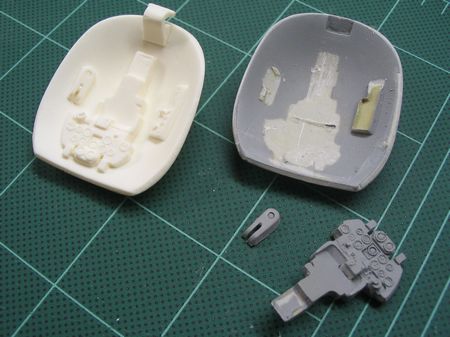
I wanted to deepen the hatch and add some more "egg" on top. The original parts needed to be removed.
The overall fit was improved too, including a recess at the front.
 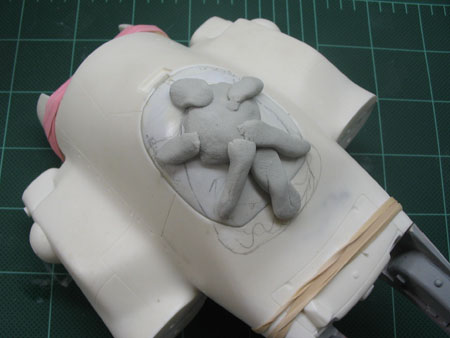
Greebles on the inside of the hatch had to be taken off and re-fitted inline with the deeper, more concaved hatch shape.
An original resin version is shown for comparision.
The hatch pin was widened to improve stability and alignment of an open hatch.
|
| Rescribed |
Mucking around with putty and tools, the panel lines and rivets needed a cleanup.
|
|
|

